APN 푸시3 - 서버
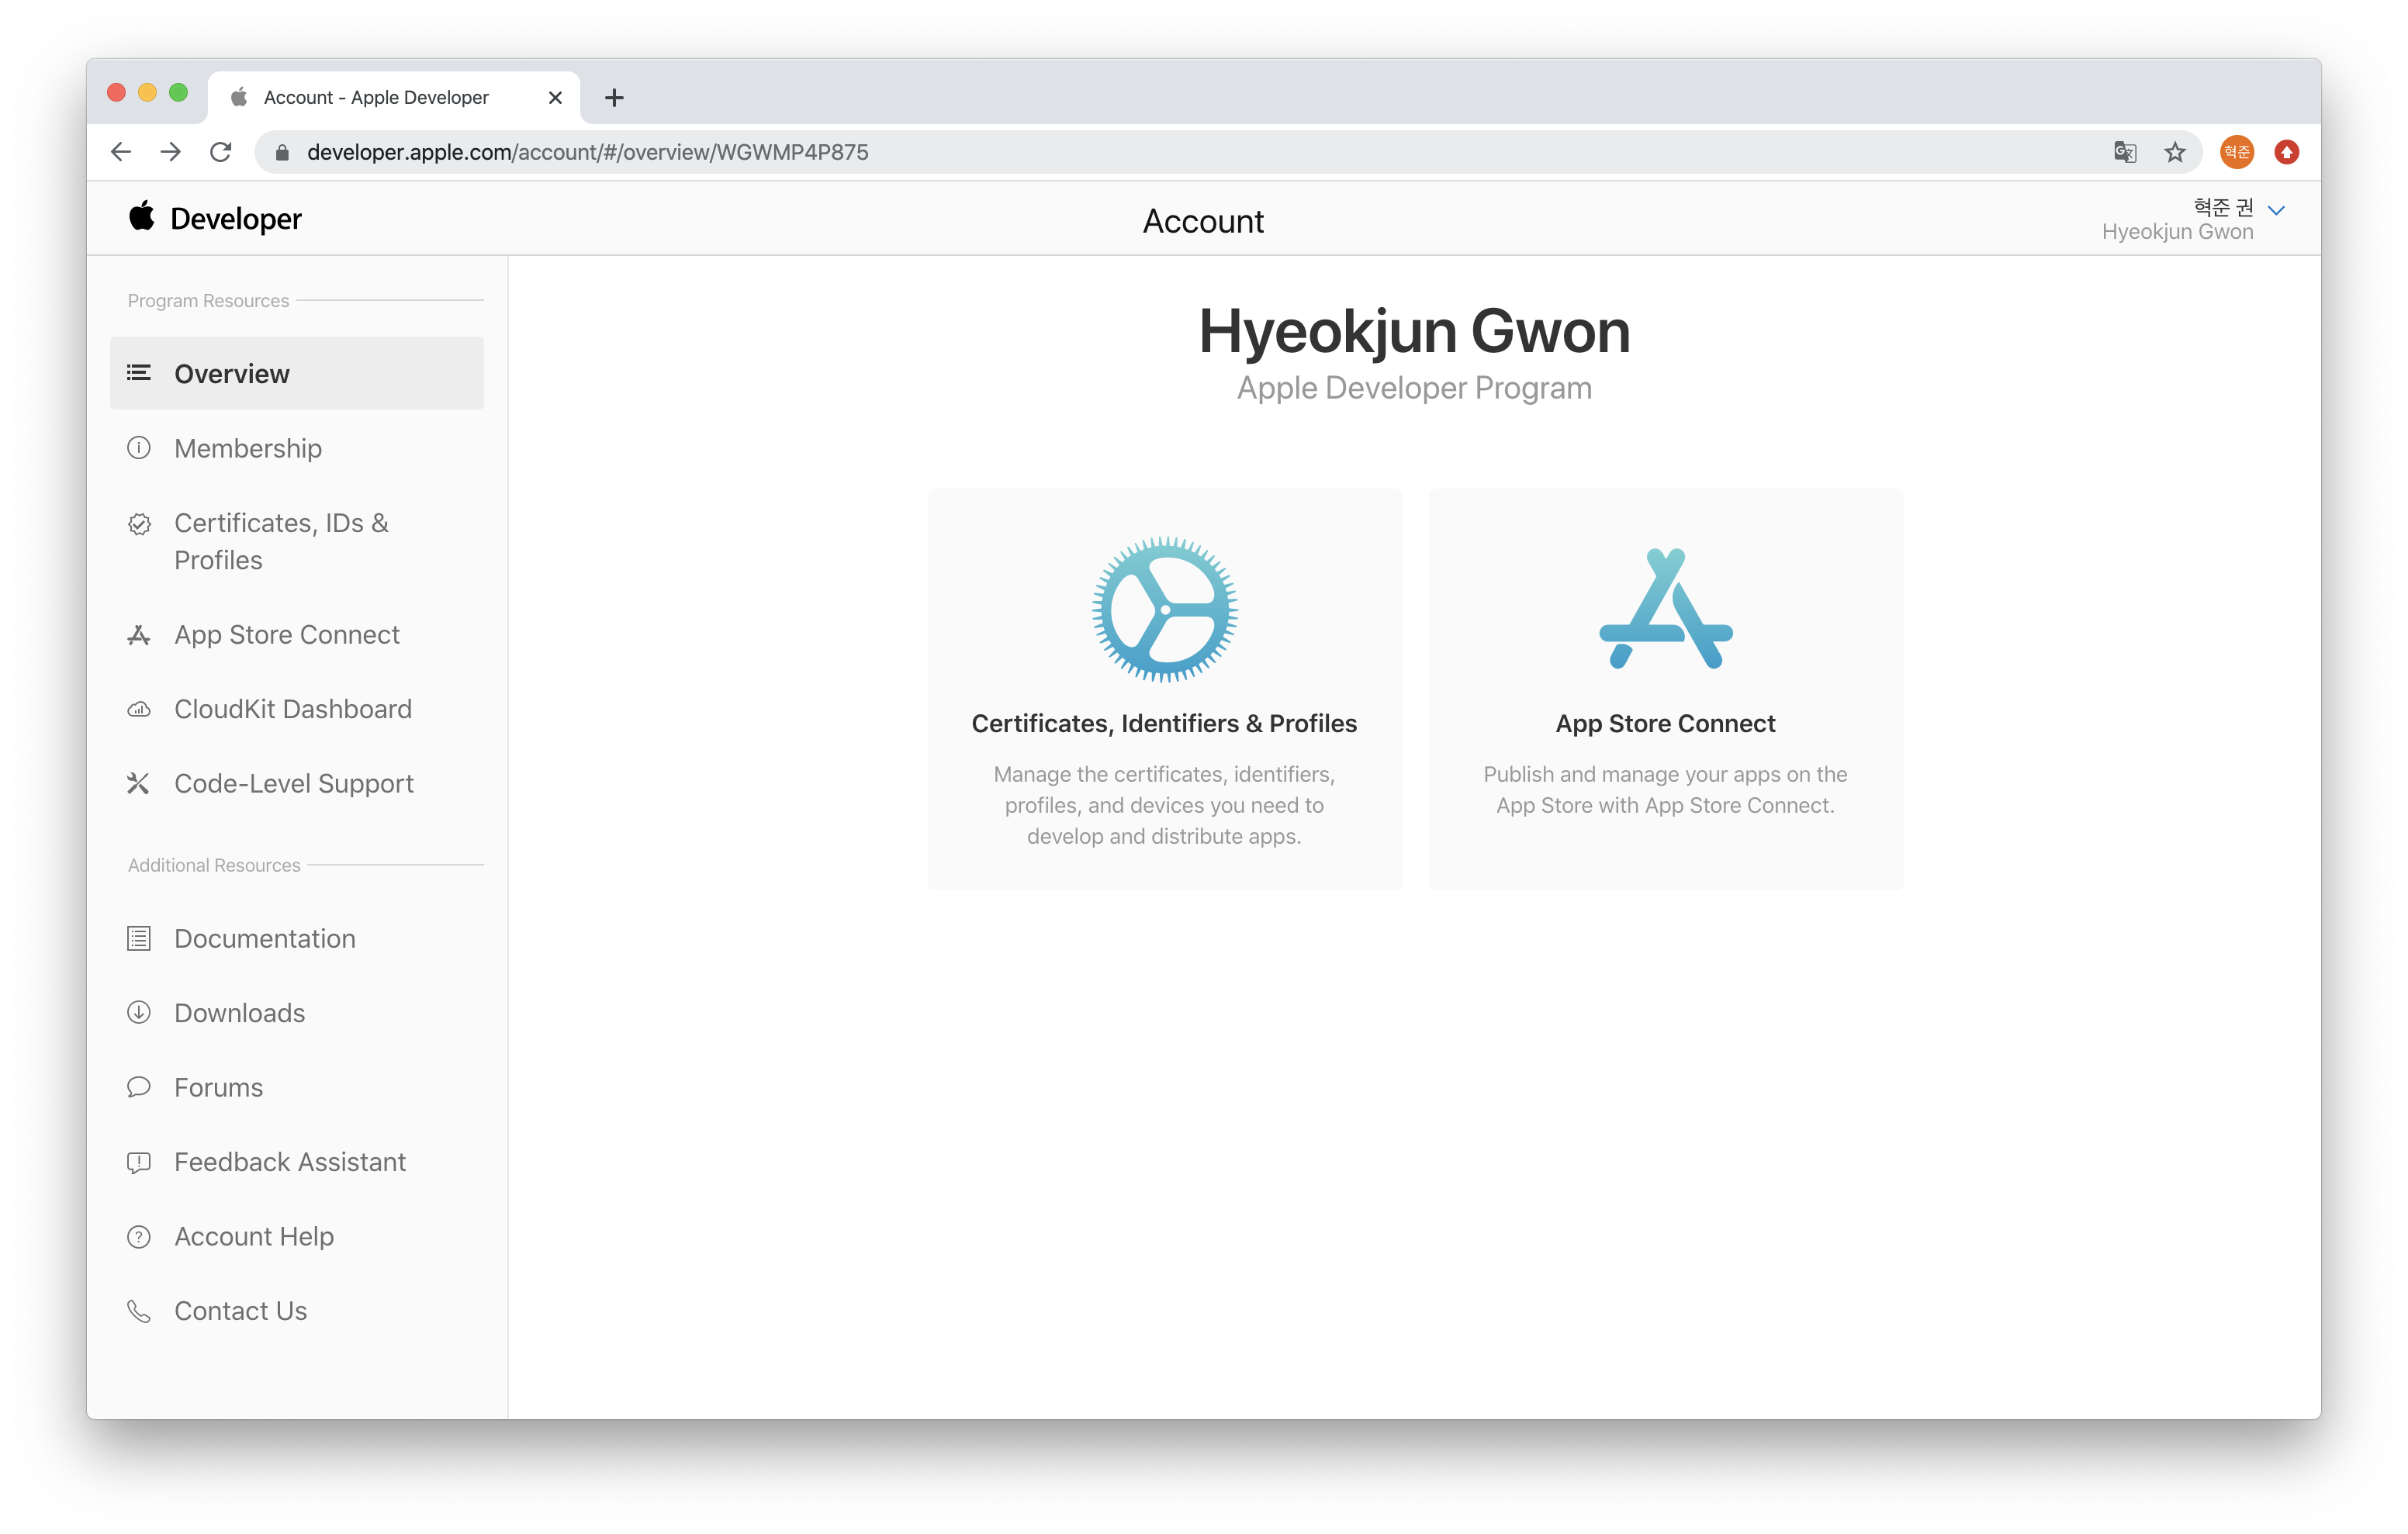
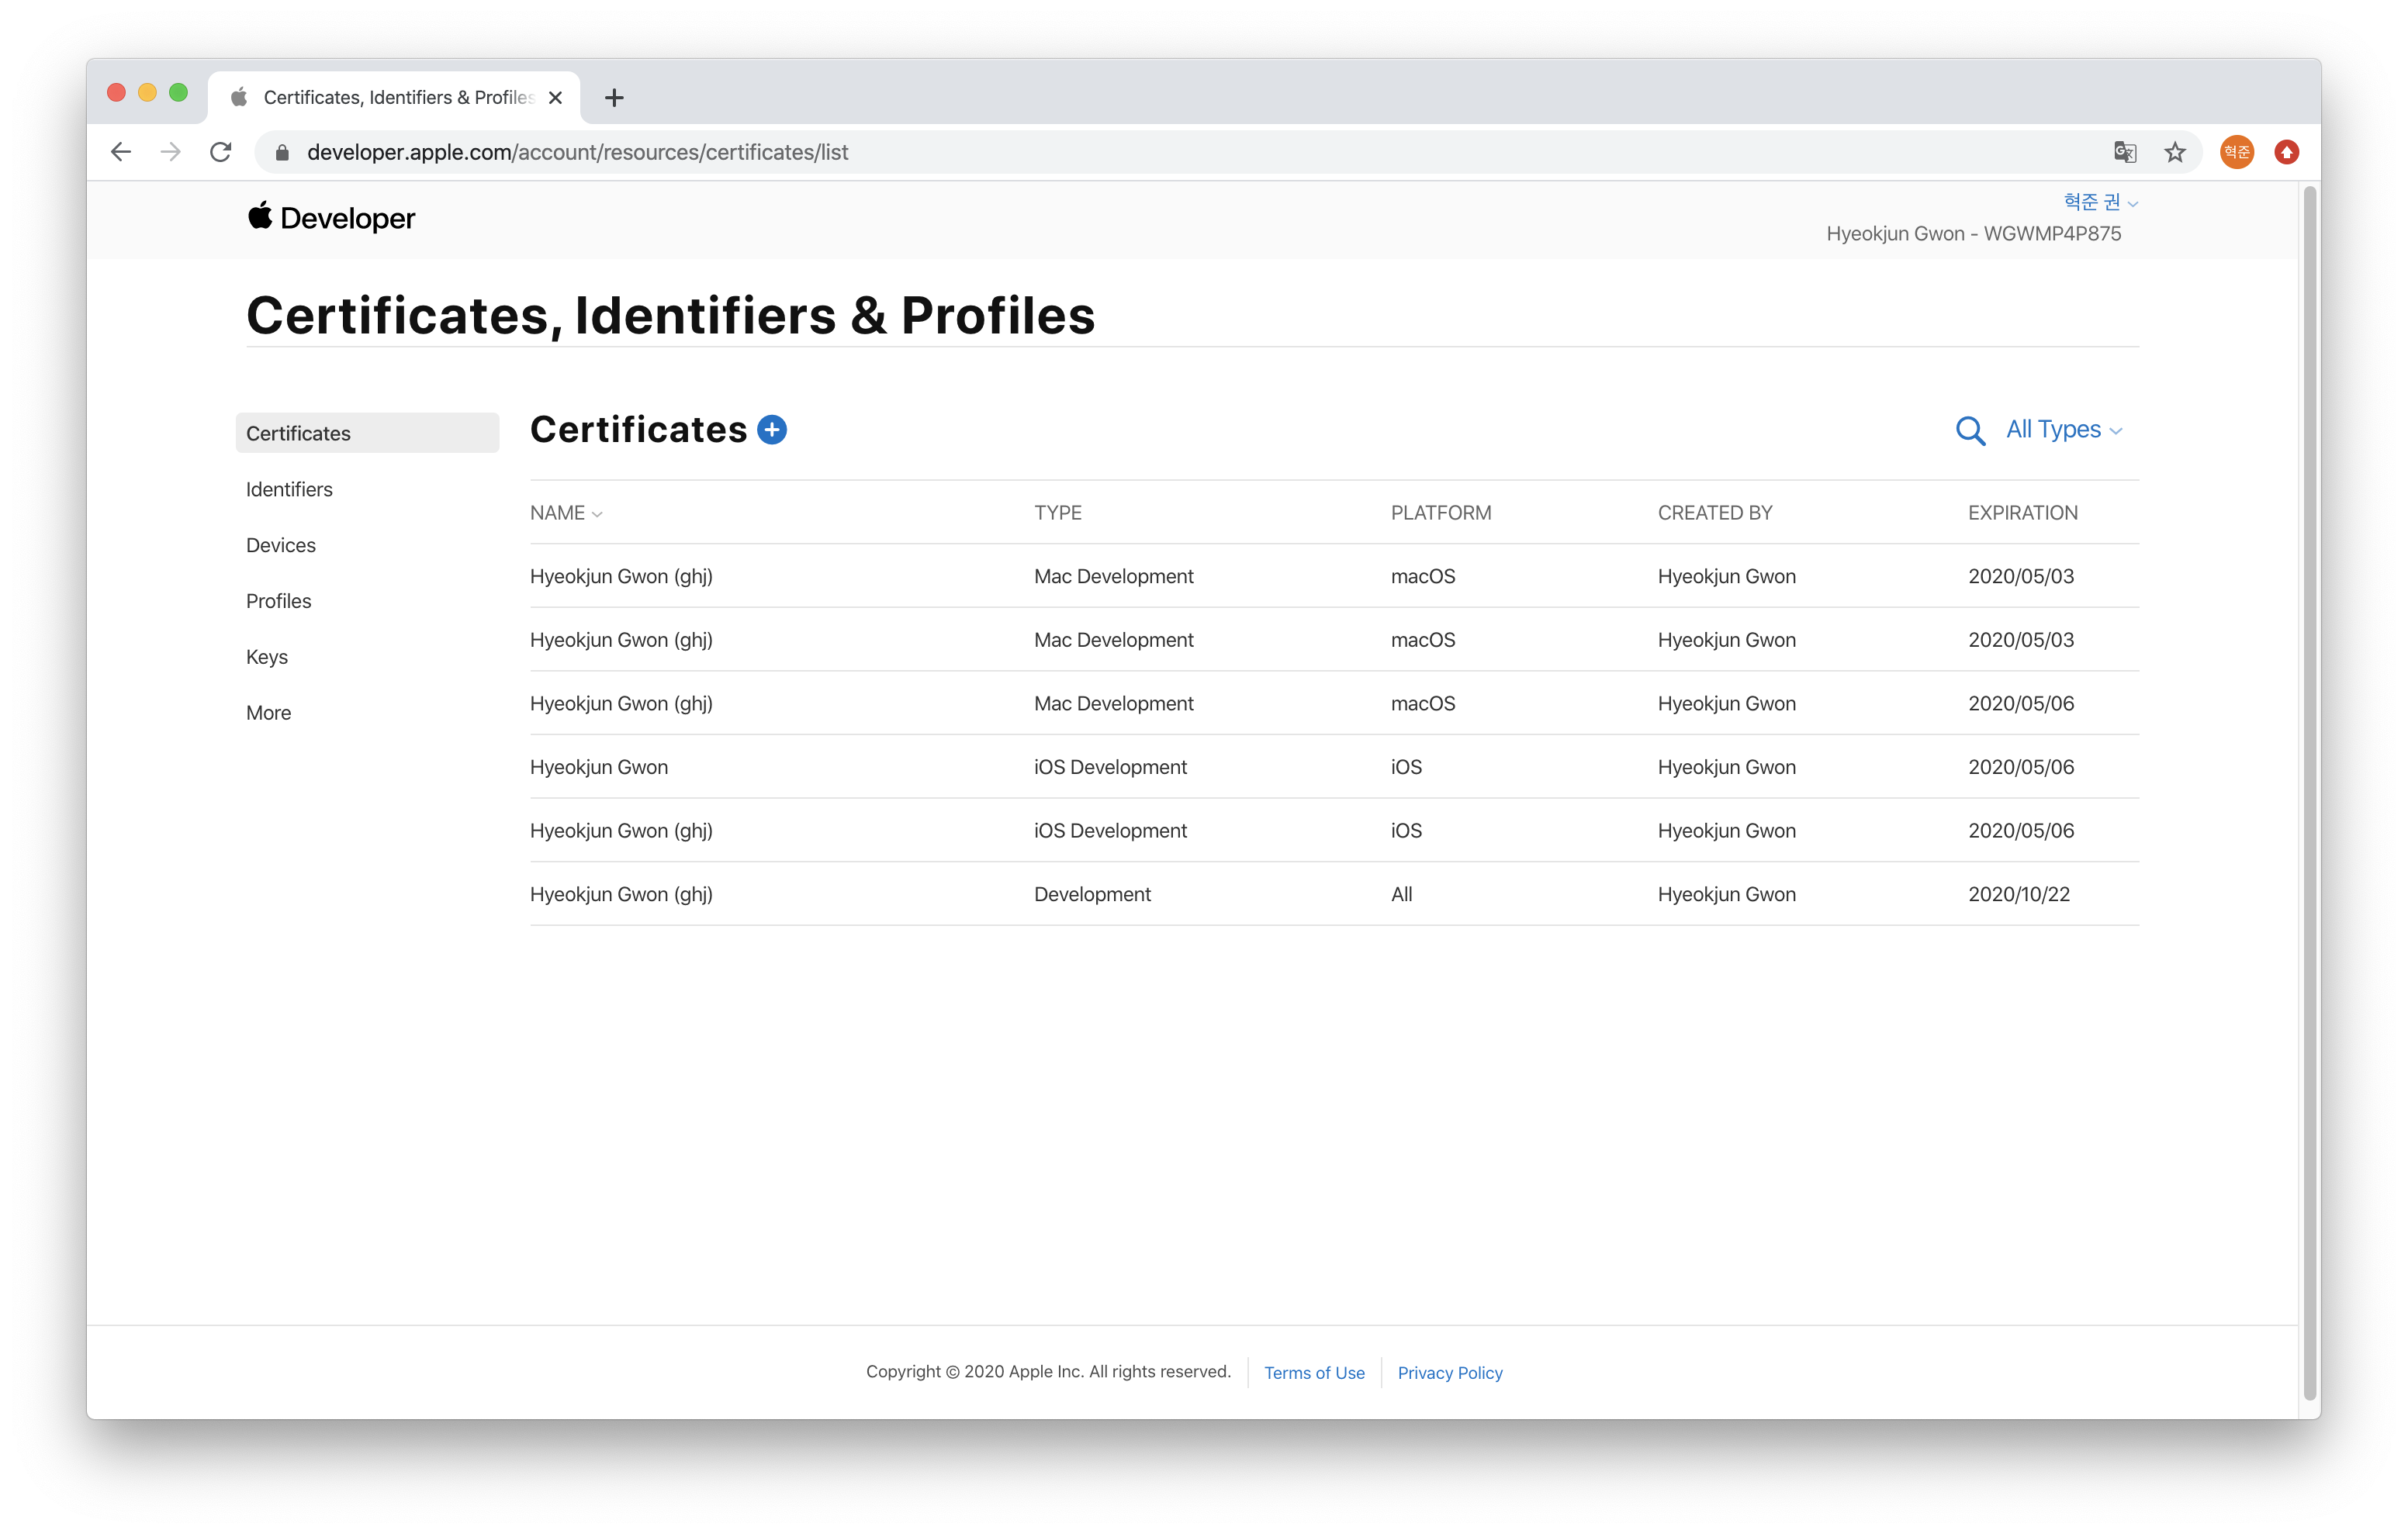
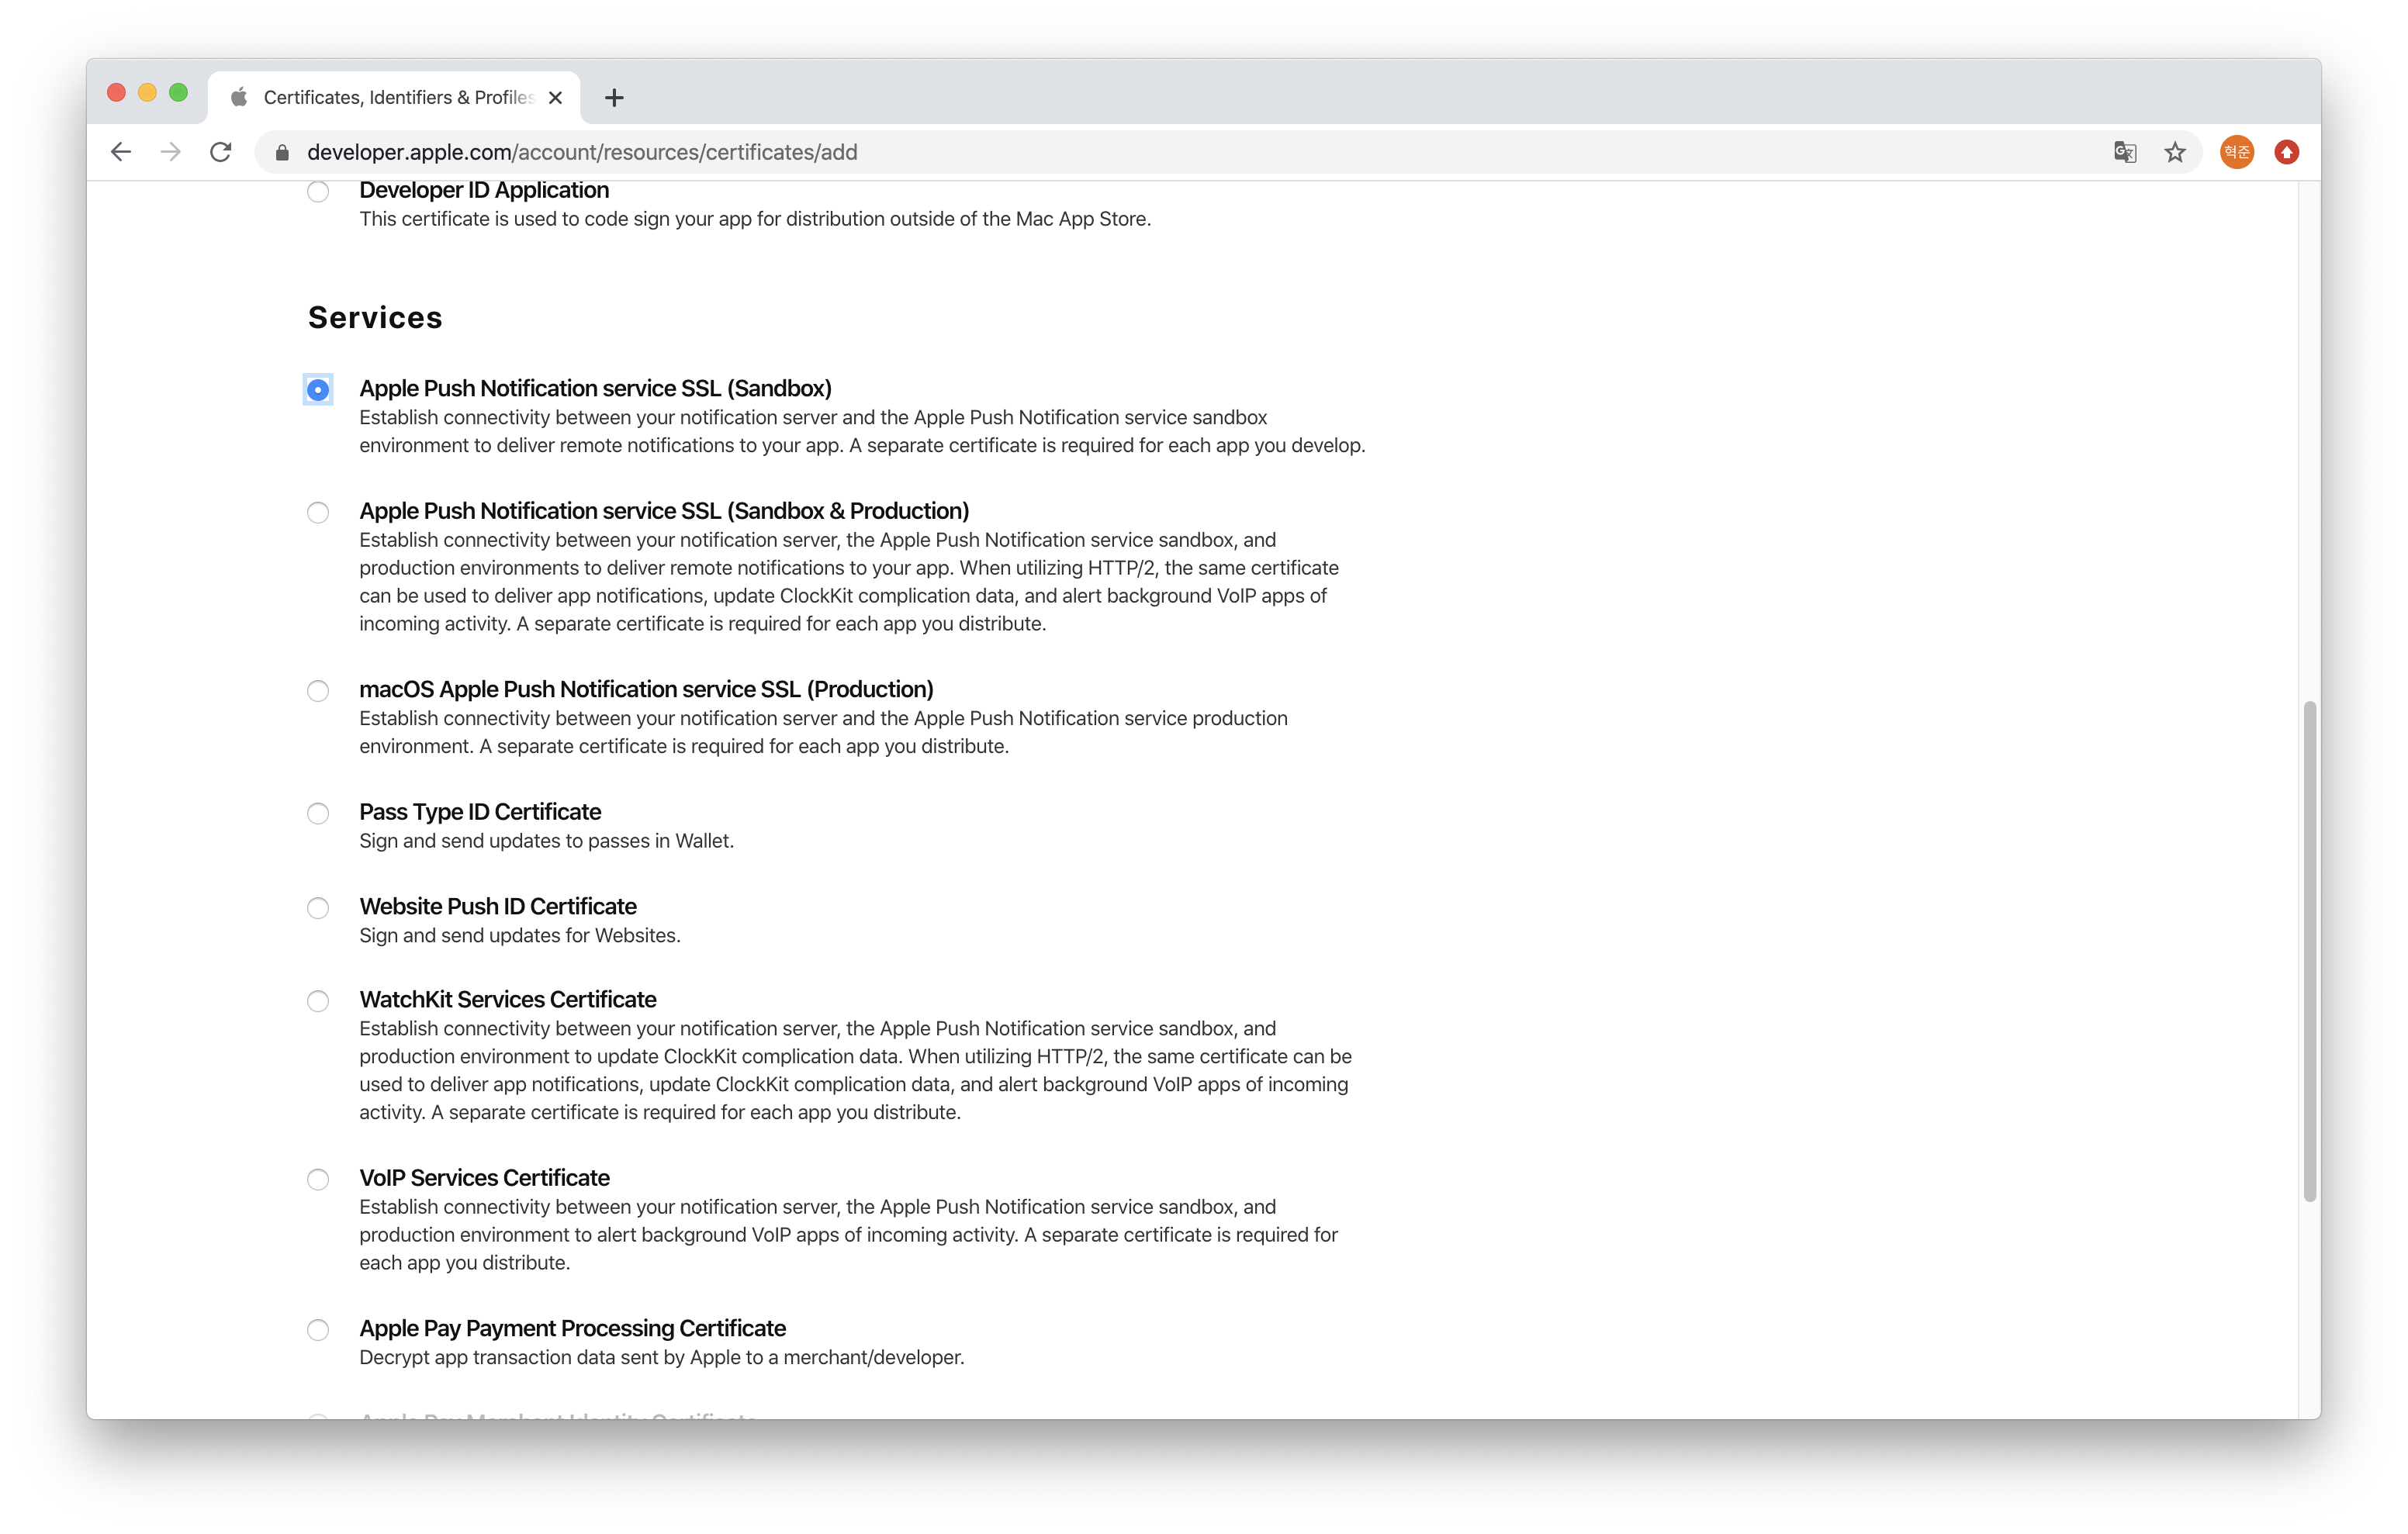
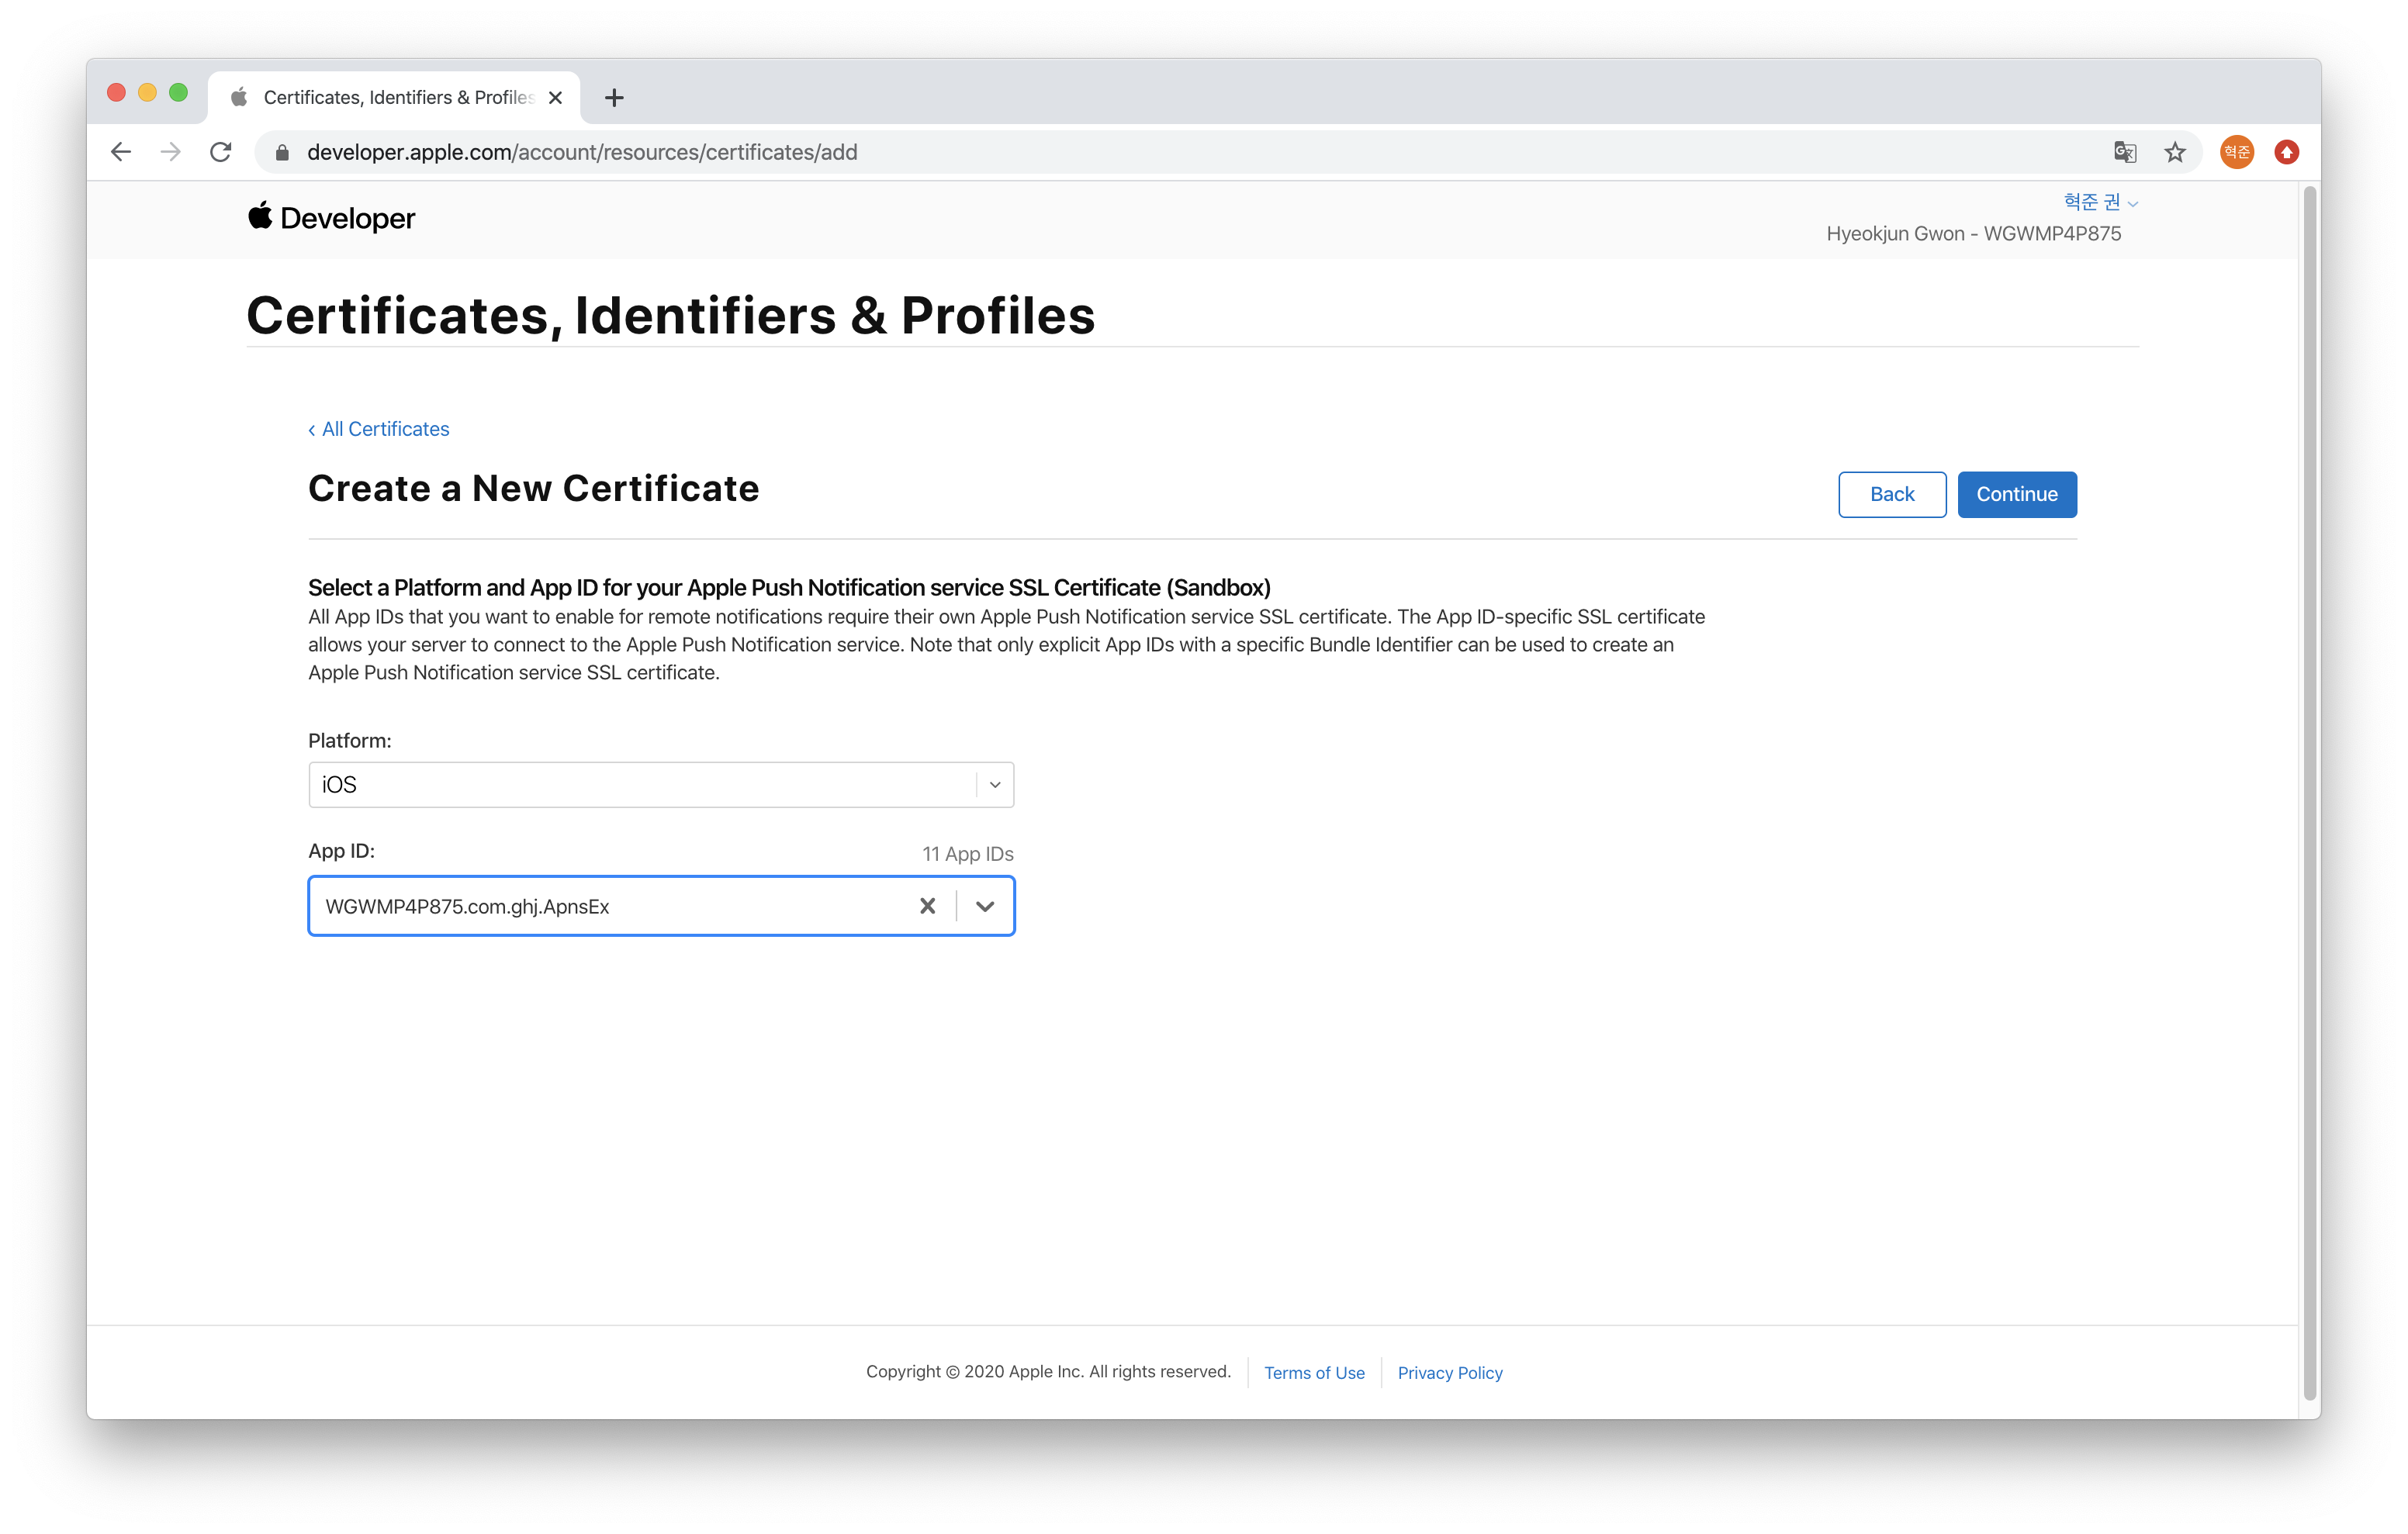
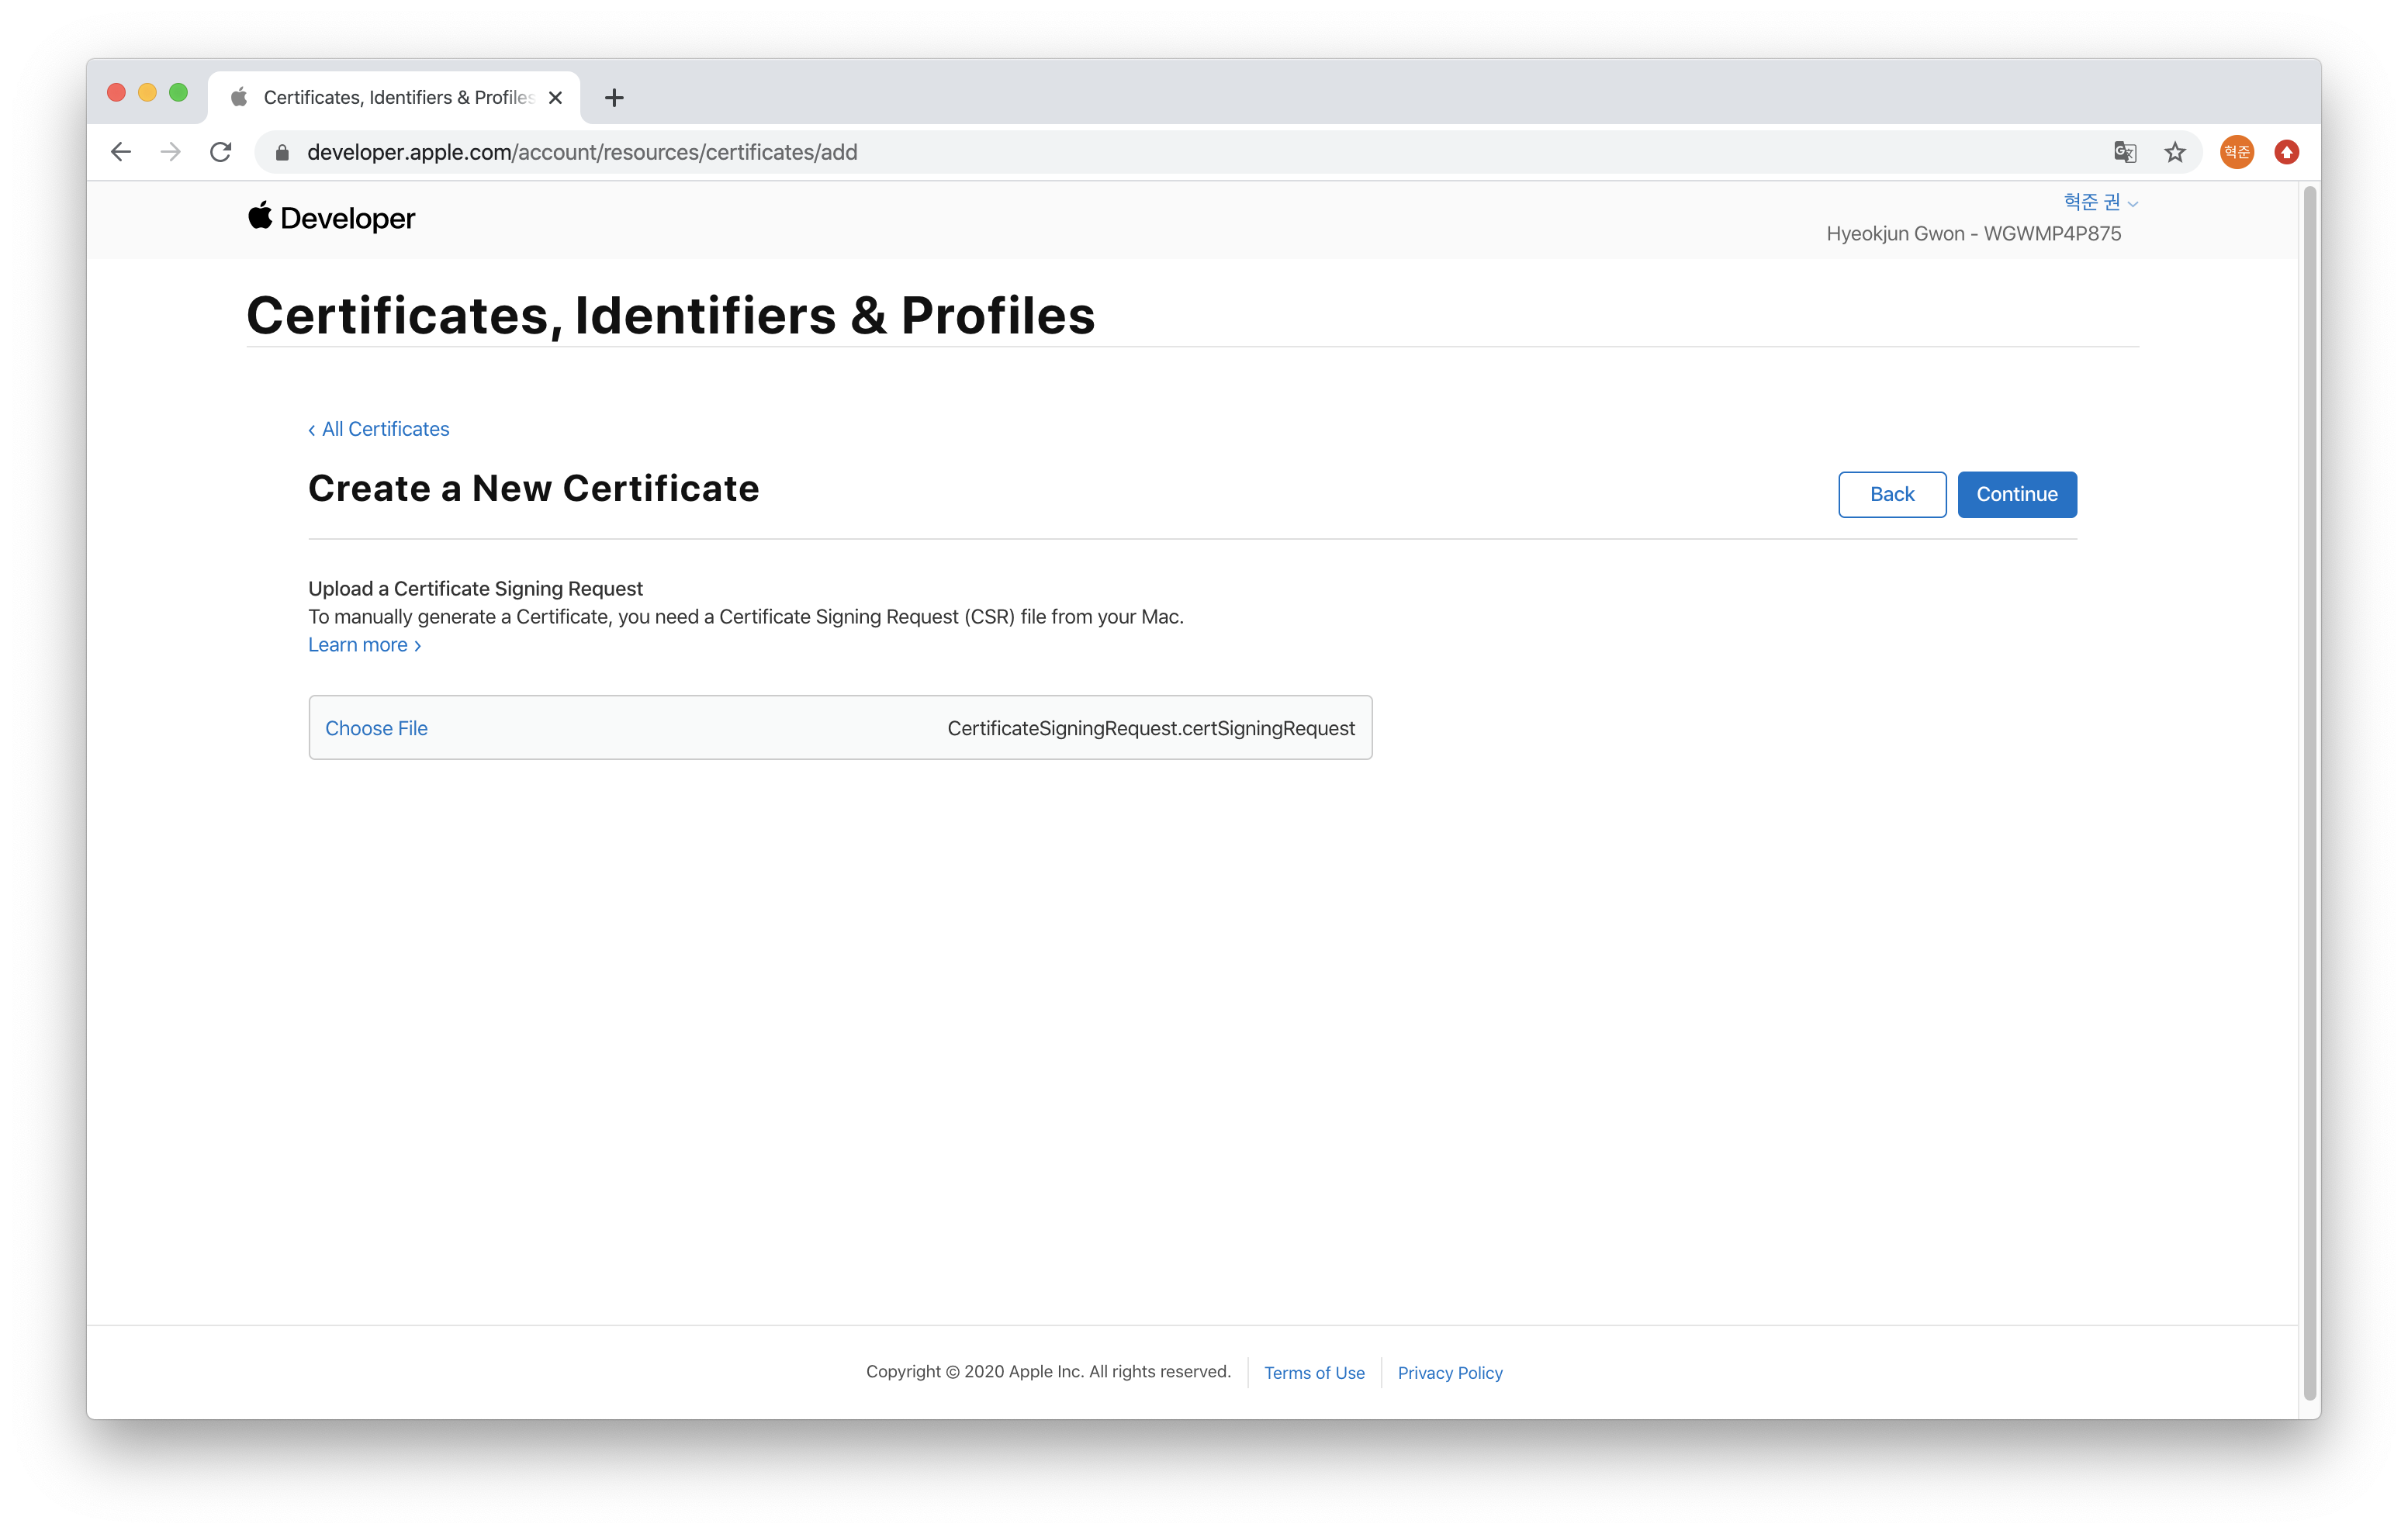
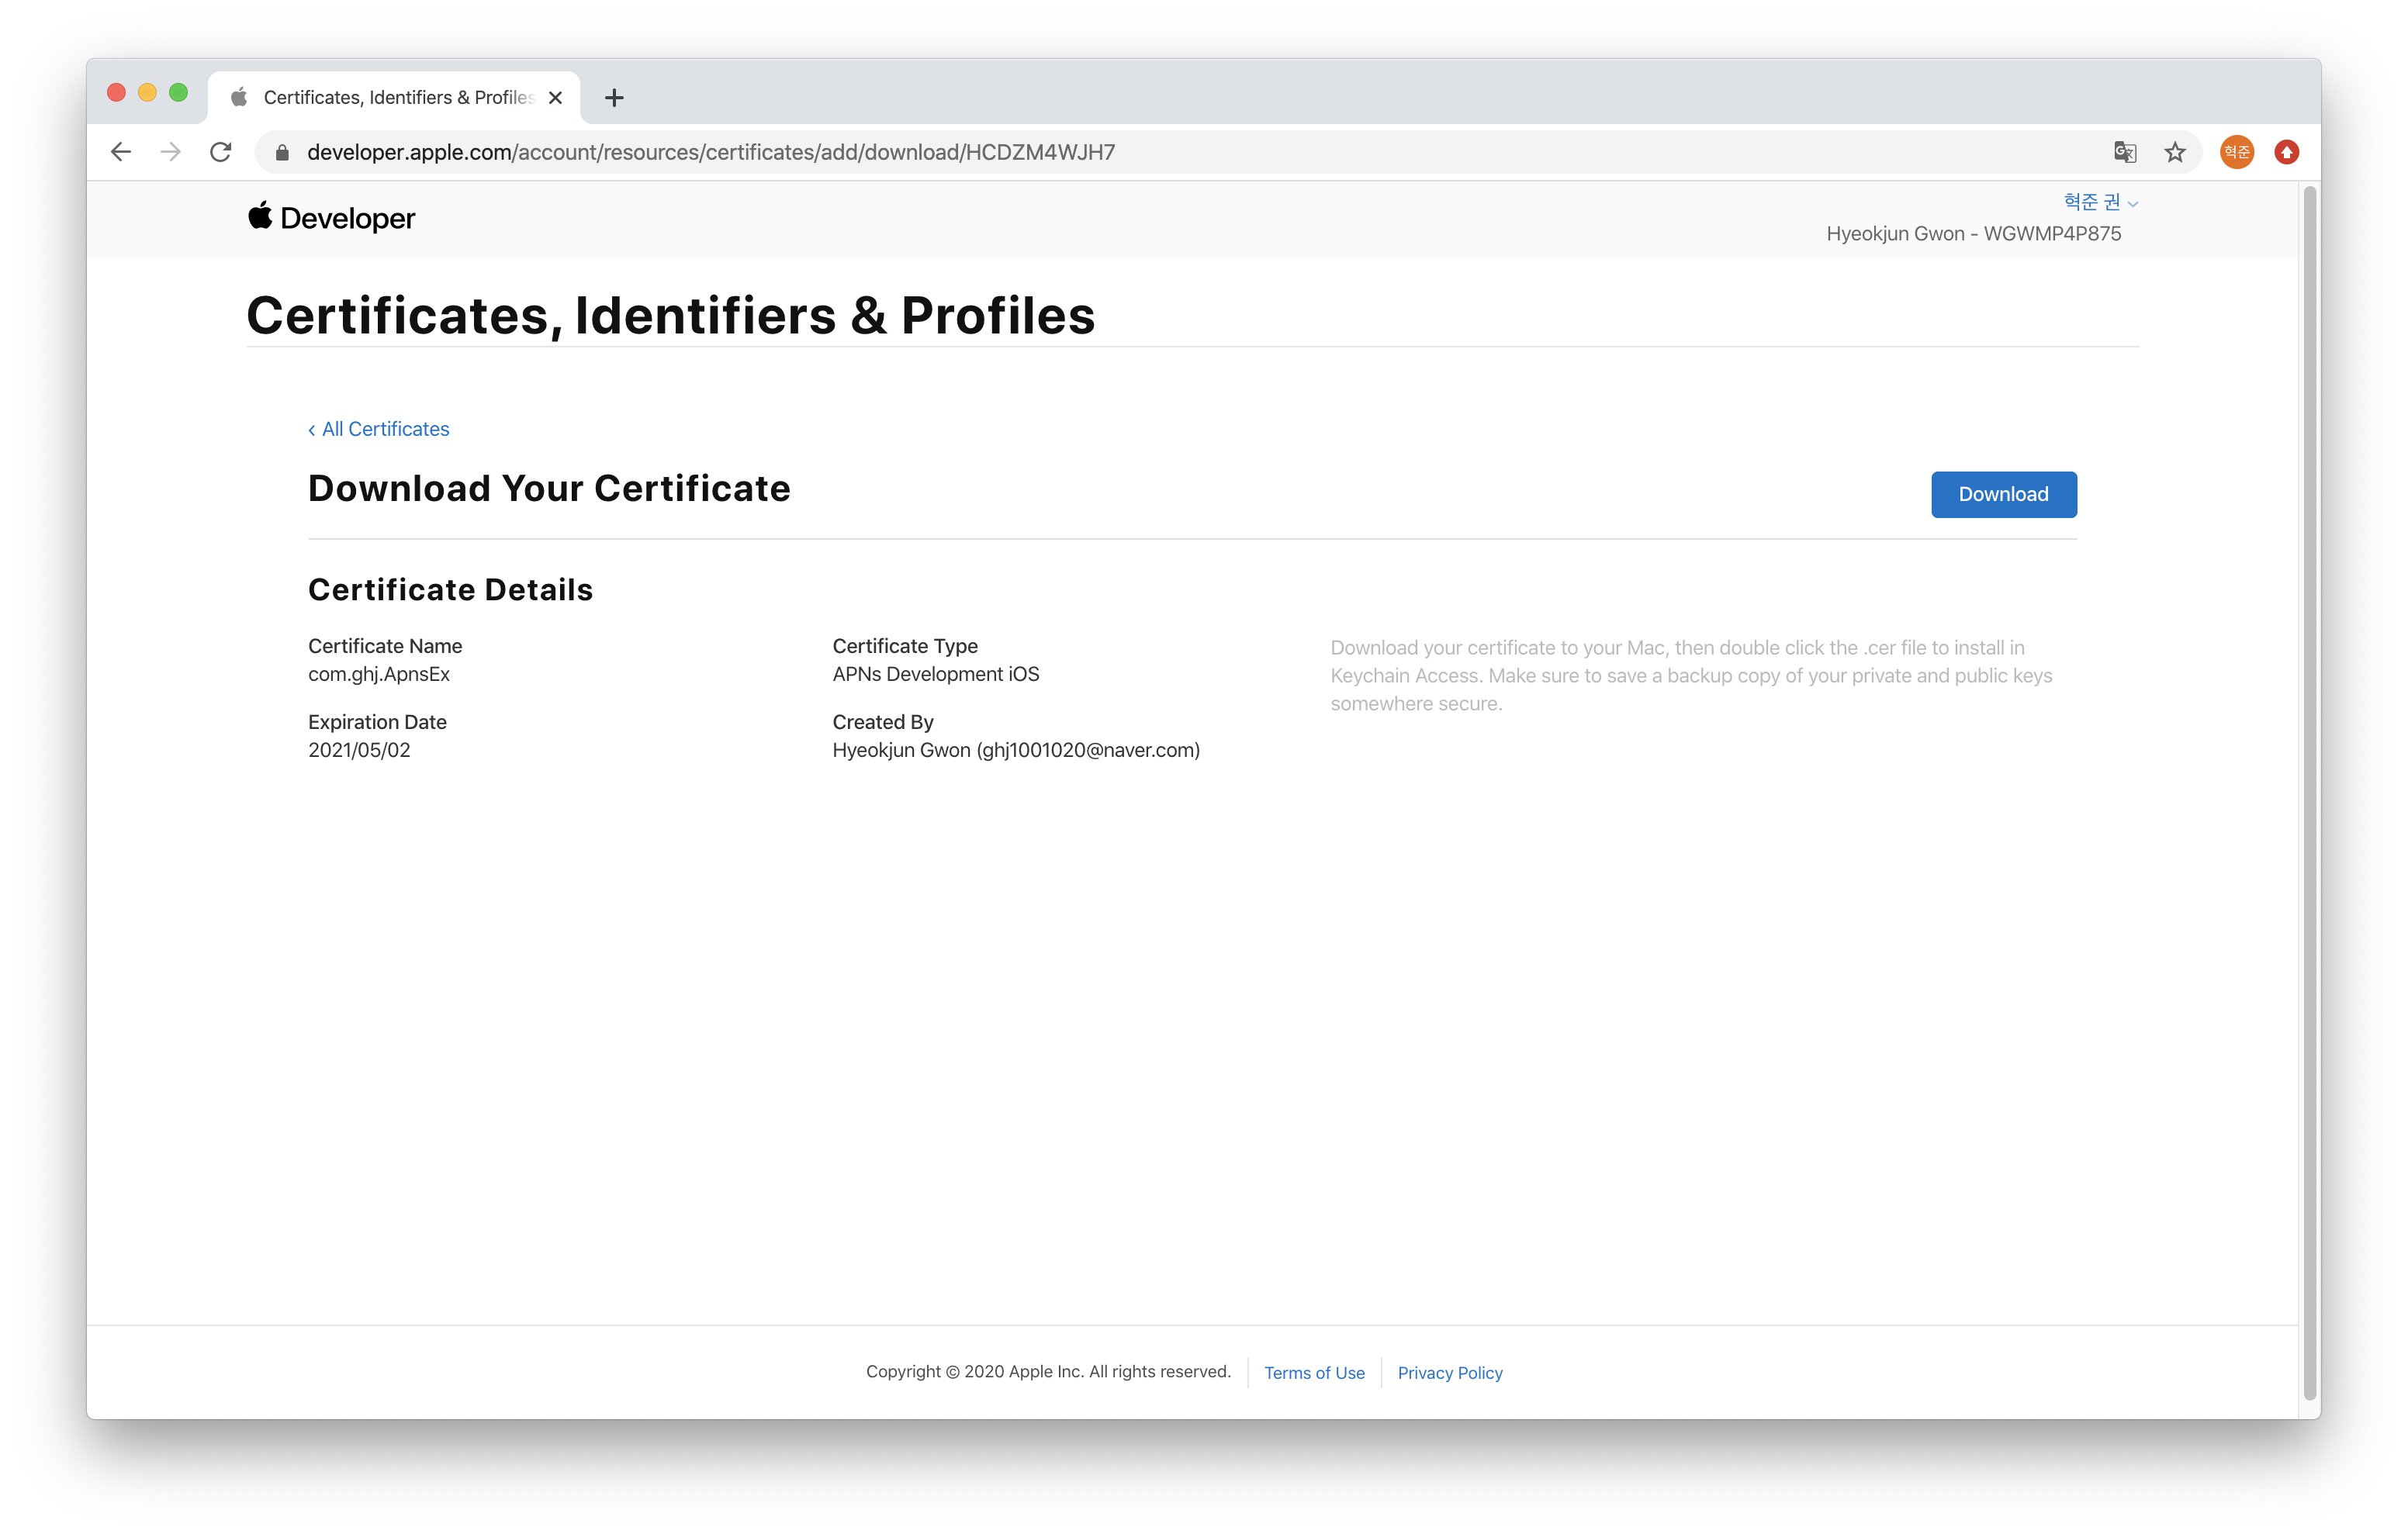
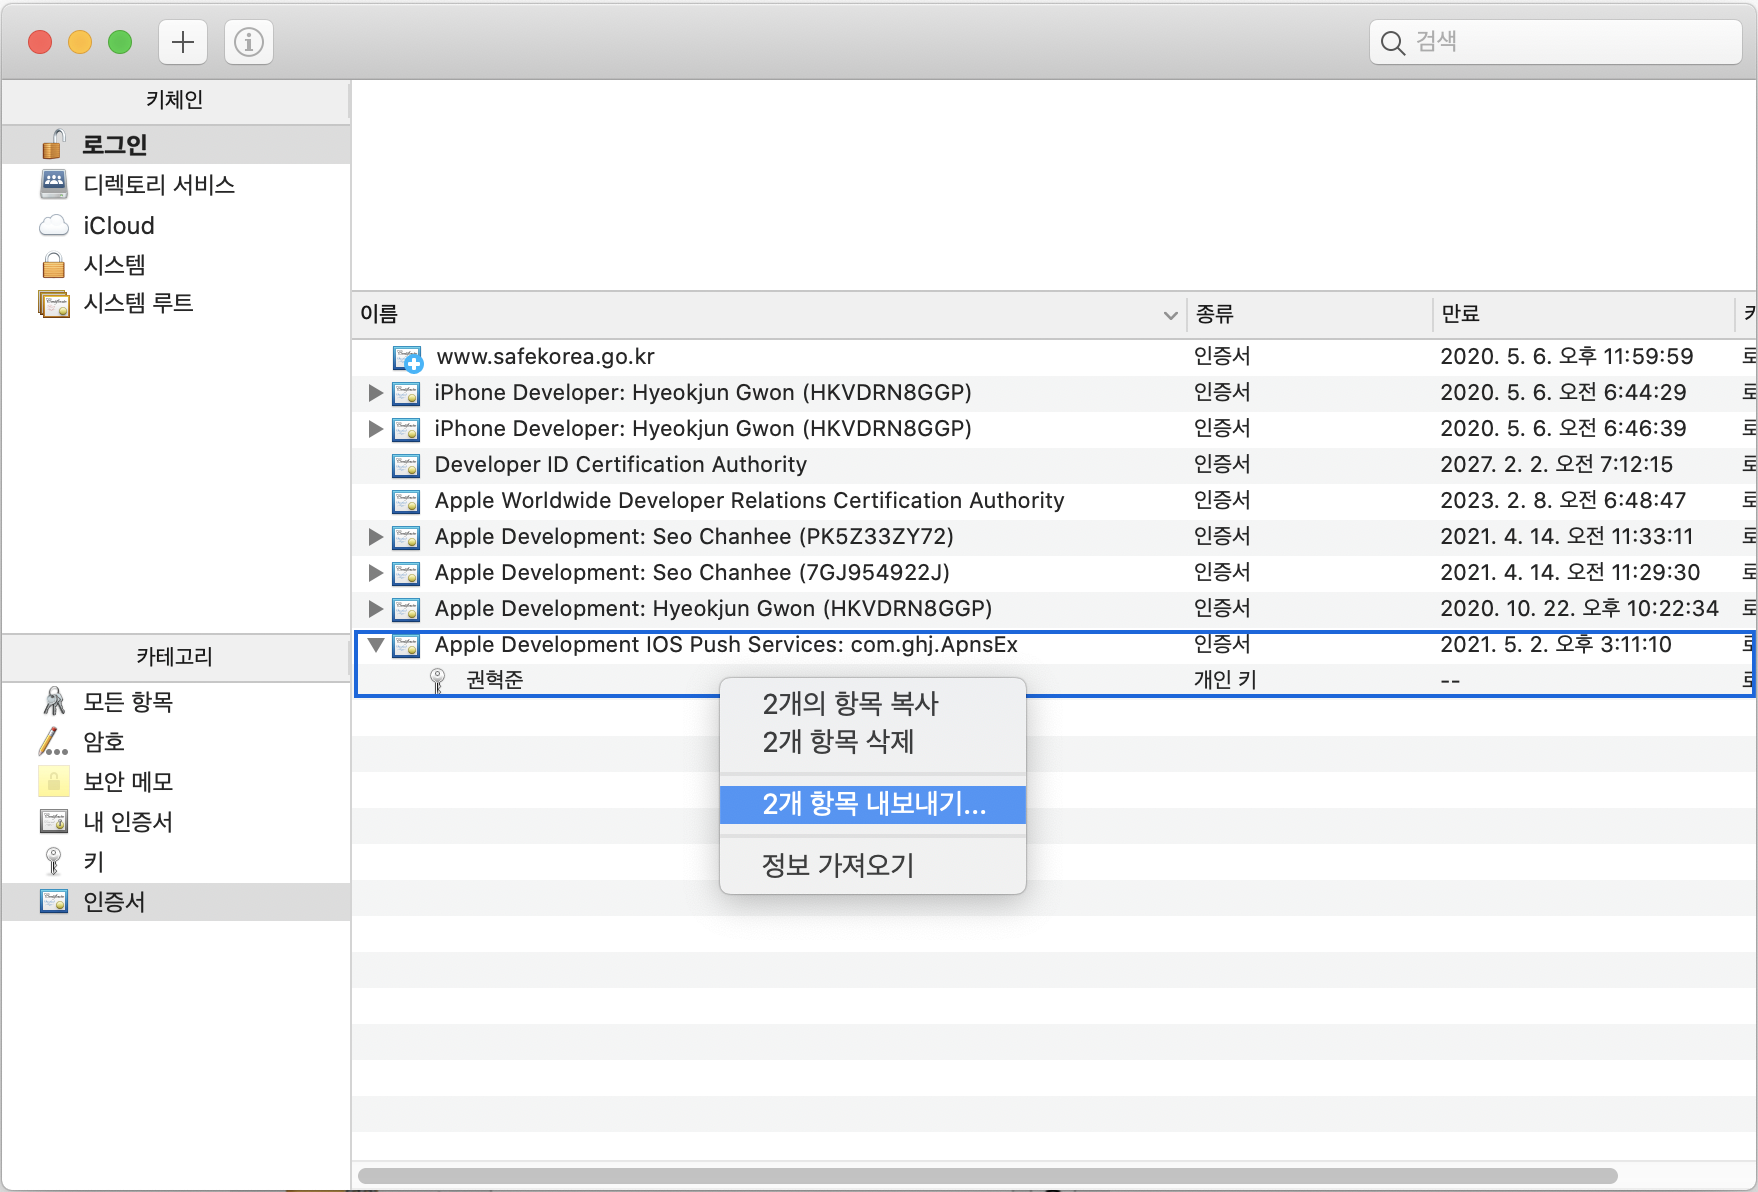
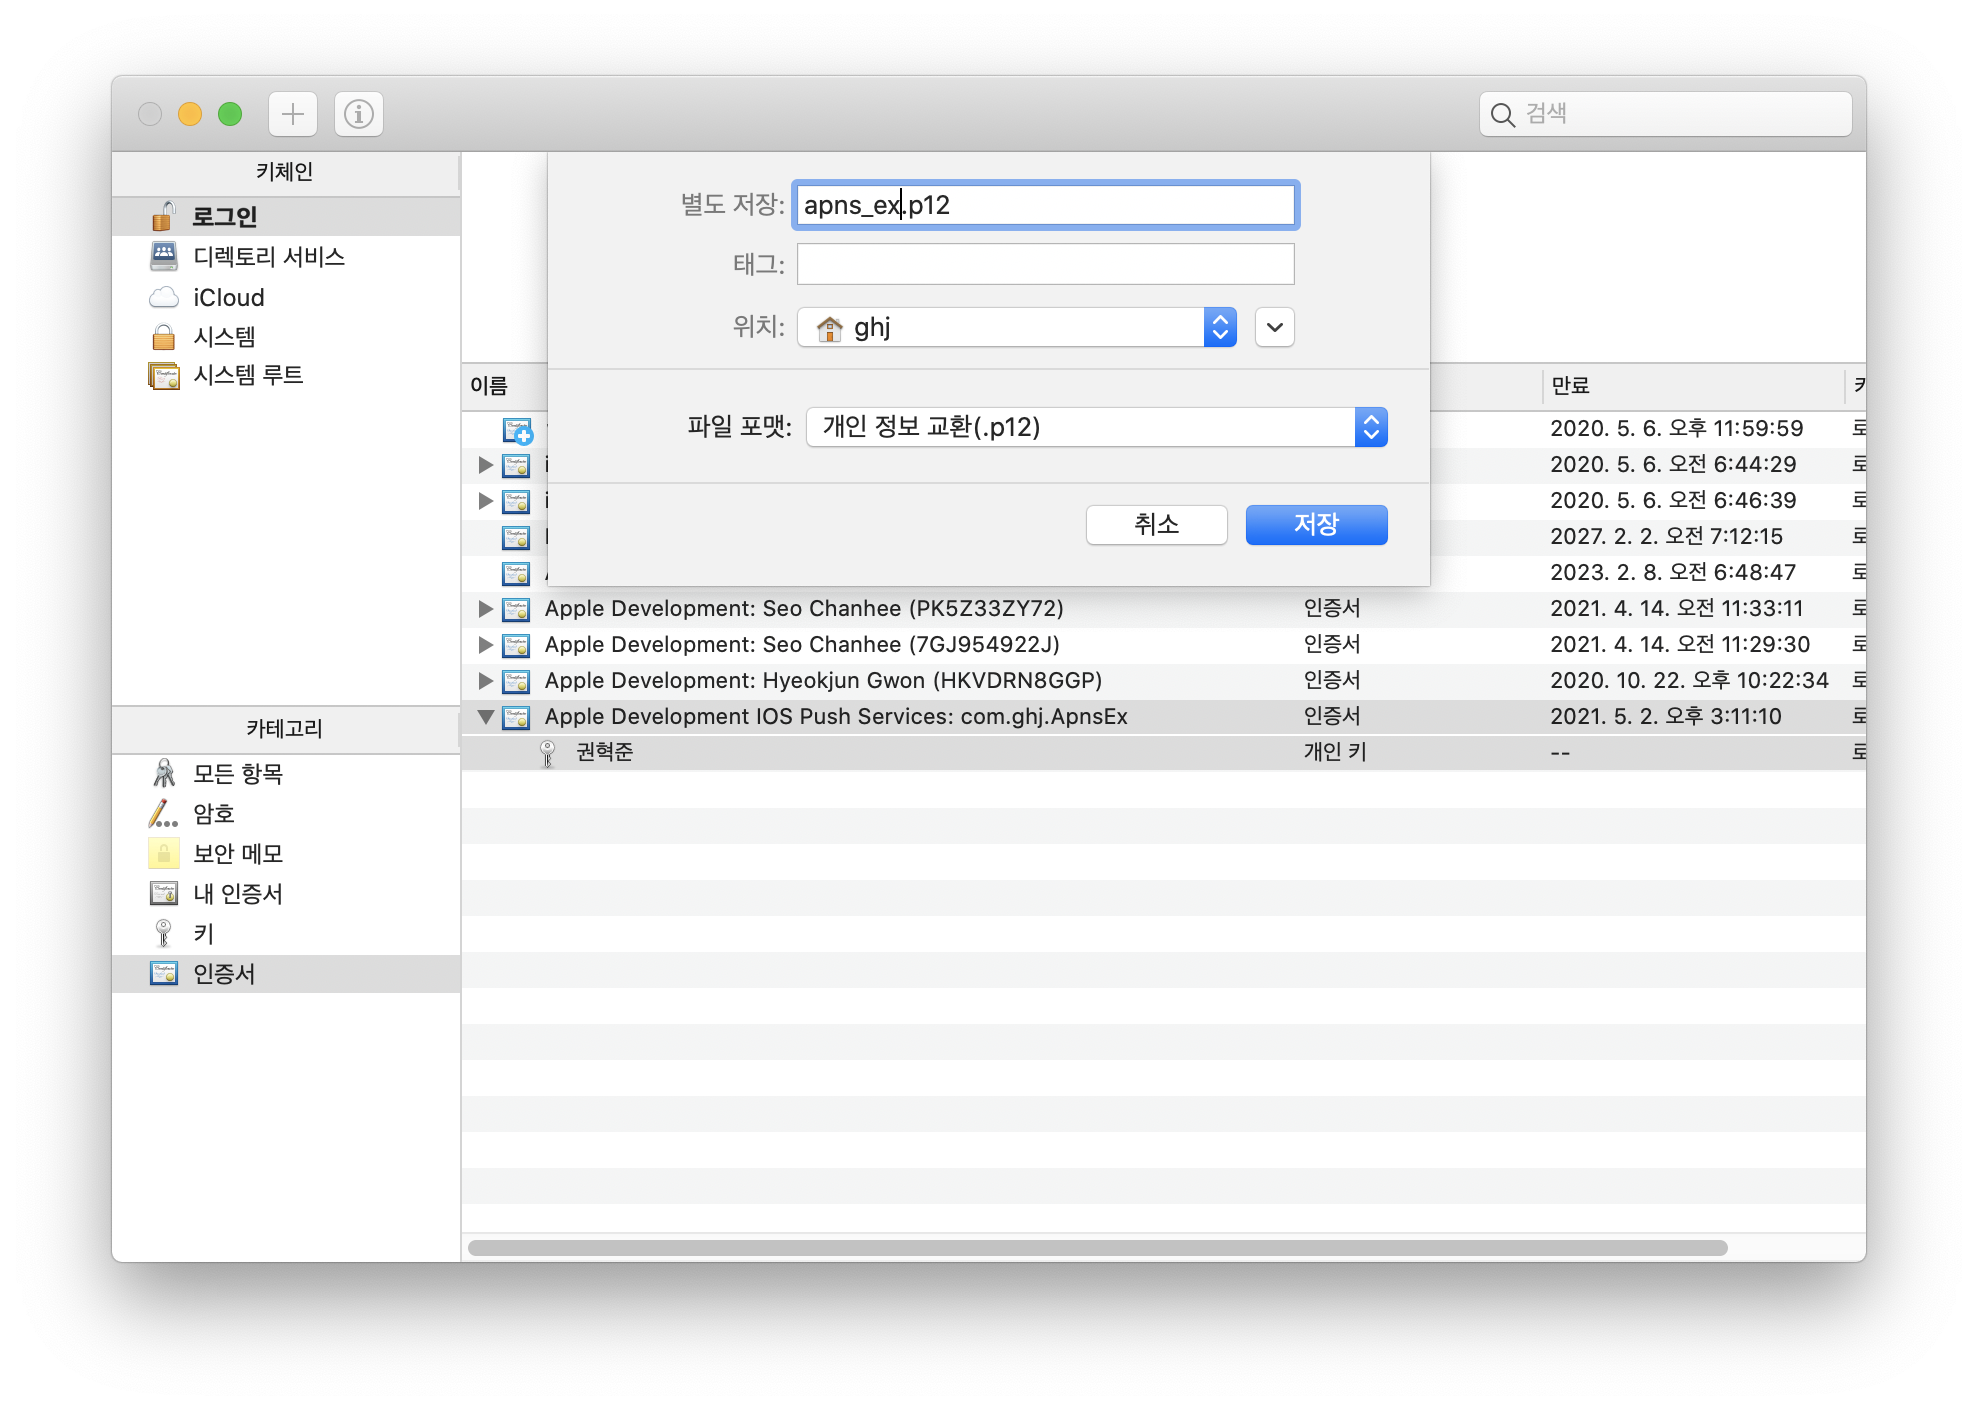
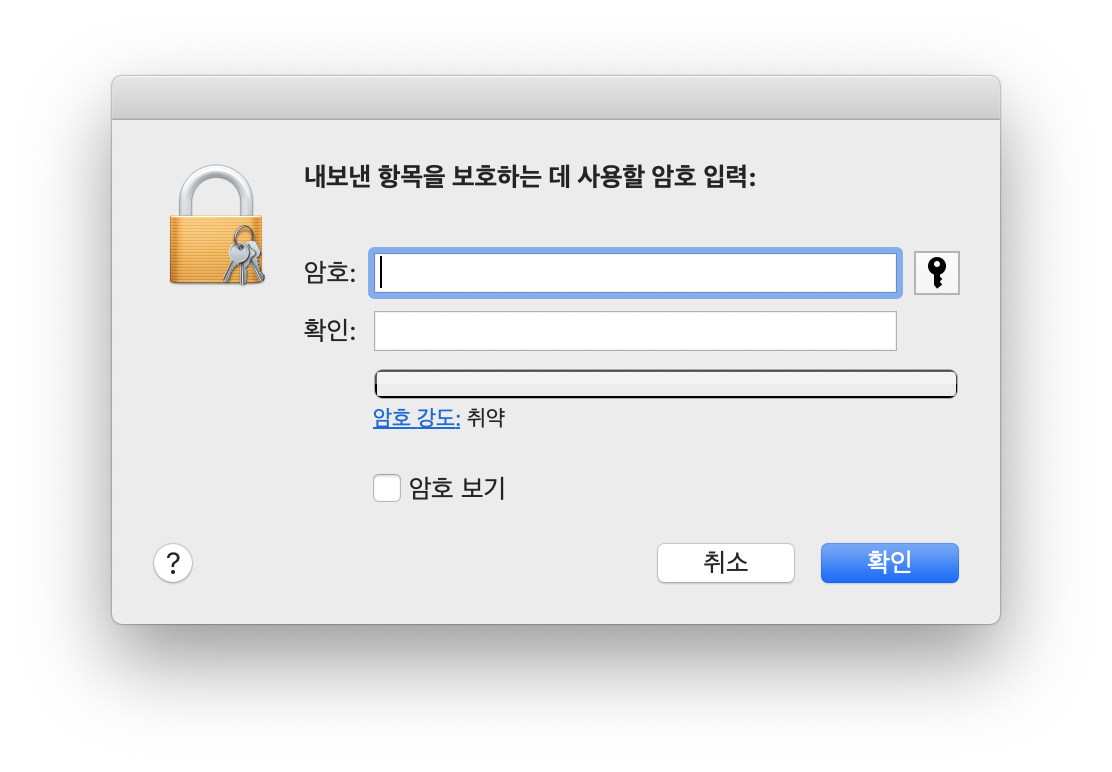
1. 인증서 만들기 https://ghj1001020.tistory.com/797
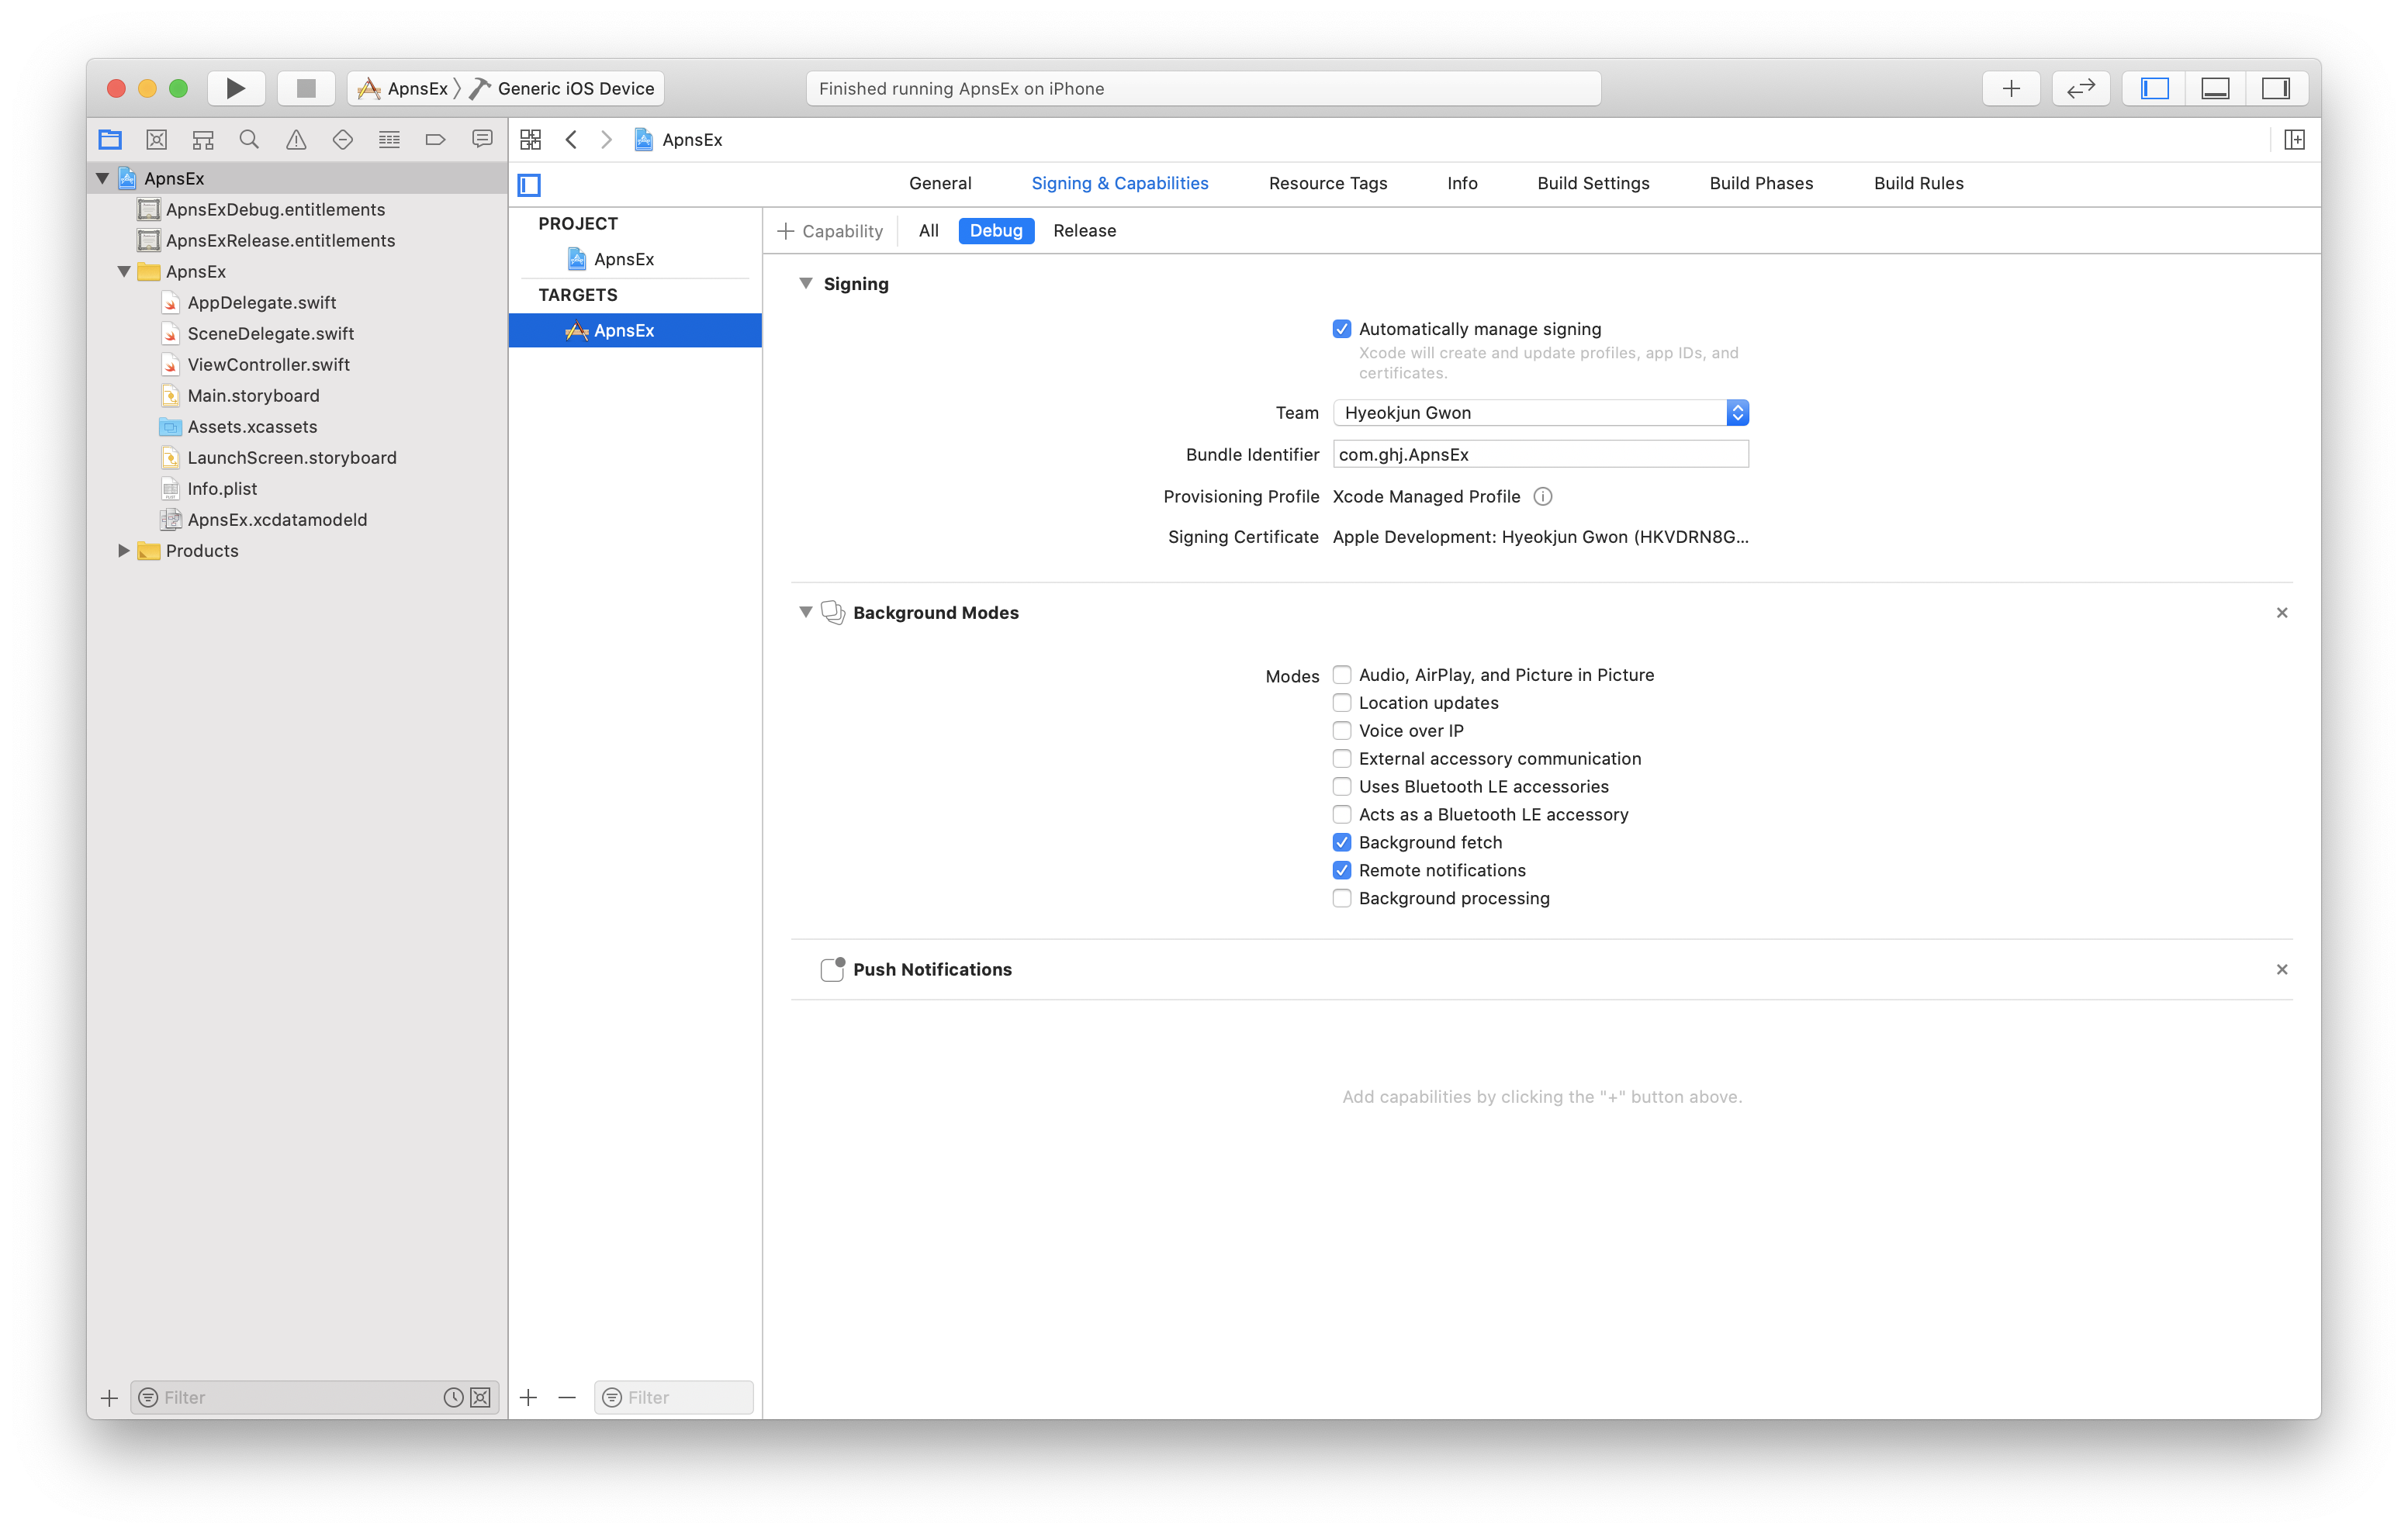
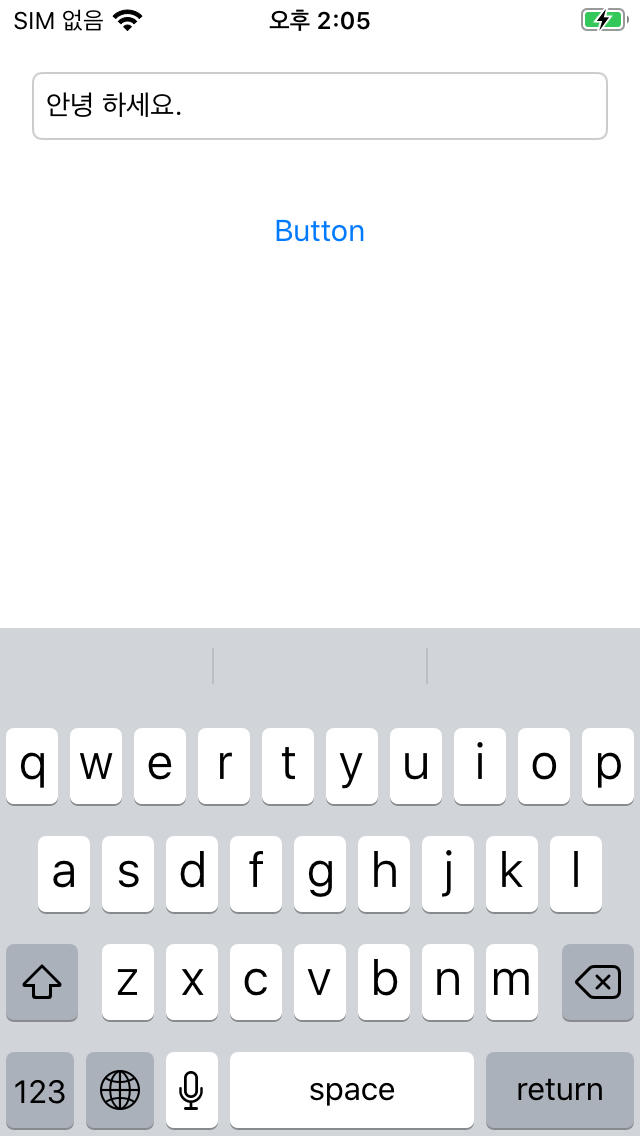
2. iOS 클라이언트 https://ghj1001020.tistory.com/798
3. 서버 https://ghj1001020.tistory.com/799
pom.xml
JavaPNS 라이브러리 추가
|
1
2
3
4
5
6
7
|
<!-- APNS -->
<dependency>
<artifactId>javapns</artifactId>
<version>2.3.2</version>
</dependency>
|
ApnsServer.java
|
1
2
3
4
5
6
7
8
9
10
11
12
13
14
15
16
17
18
19
20
21
22
23
24
25
26
27
28
29
30
31
32
33
34
35
36
37
38
39
40
41
42
43
44
45
46
47
48
49
50
51
|
import java.util.ArrayList;
import java.util.List;
import javapns.devices.Device;
import javapns.notification.AppleNotificationServer;
import javapns.notification.AppleNotificationServerBasicImpl;
import javapns.notification.PushNotificationManager;
import javapns.notification.PushNotificationPayload;
import javapns.notification.PushedNotifications;
public class ApnsServer {
private static final String CERT_FILE_PATH = "D:\\blog\\workspace\\web\\apns_ex.p12"; // 인증서 경로
private static final String CERT_PASSWORD = "test1234"; // 인증서 만들때 입력한 패스워드
private static final String DEVICE_TOKEN_ID = "1e1c9c3f4539288801101658251b3409222b20ff8b5507d7d9430985ebd96a74"; // iOS가 받은 푸시키
public void sendApns() {
PushNotificationManager pushManager = new PushNotificationManager();
try {
AppleNotificationServer pushServer = new AppleNotificationServerBasicImpl(CERT_FILE_PATH, CERT_PASSWORD, false);
pushManager.initializeConnection(pushServer);
List<Device> deviceList = new ArrayList<Device>();
// device 추가
Device device = new BasicDevice( DEVICE_TOKEN_ID );
deviceList.add( device );
PushNotificationPayload payload = PushNotificationPayload.complex();
payload.addBadge(1);
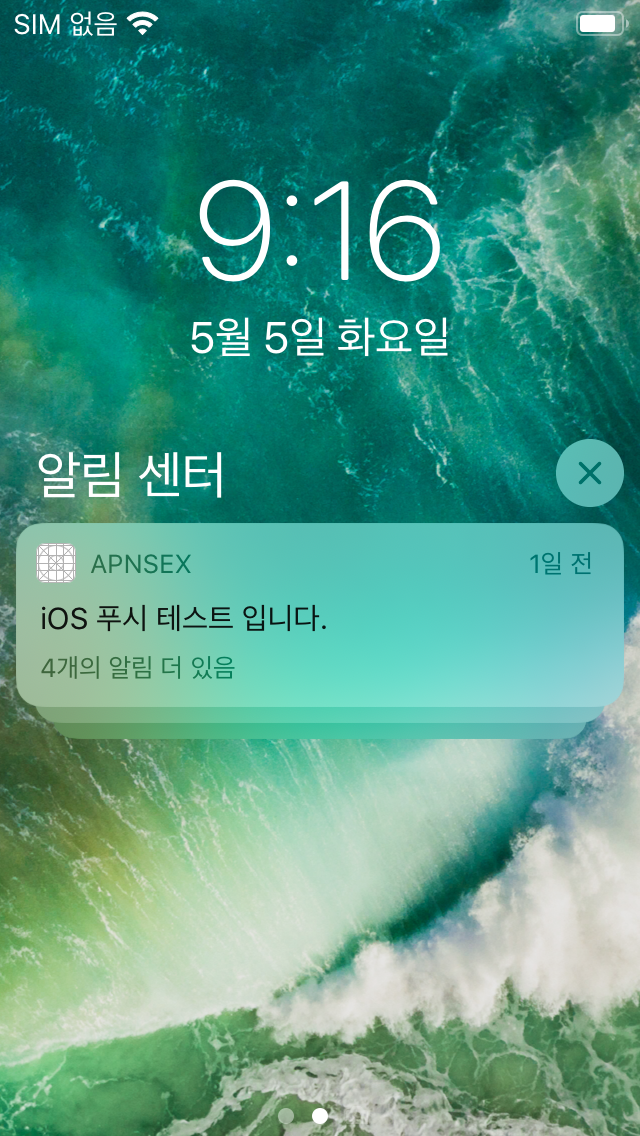
payload.addAlert("iOS 푸시 테스트 입니다.");
payload.getPayload().put("message", "메시지 내용을 입력해주세요.");
PushedNotifications notis = pushManager.sendNotifications( payload, deviceList);
int result = 0;
if( notis != null && notis.getSuccessfulNotifications() != null ) {
result = notis.getSuccessfulNotifications().size();
}
System.out.println( "success size=" + result );
} catch (Exception e) {
e.printStackTrace();
}
}
public static void main(String[] args) {
ApnsServer server = new ApnsServer();
server.sendApns();
}
}
|
결과
'IT > - 프로그래밍' 카테고리의 다른 글
| iOS APN 푸시2 - iOS 클라이언트 (0) | 2020.05.05 |
|---|---|
| iOS APN 푸시1 - 인증서 만들기 (0) | 2020.05.05 |
| iOS 응용 프로그램을 위한 유효한 ‘aps-environment’ 인타이틀먼트 문자열을 찾을 수 없습니다. (1) | 2020.05.02 |
| iOS message app 열기 (0) | 2020.05.01 |
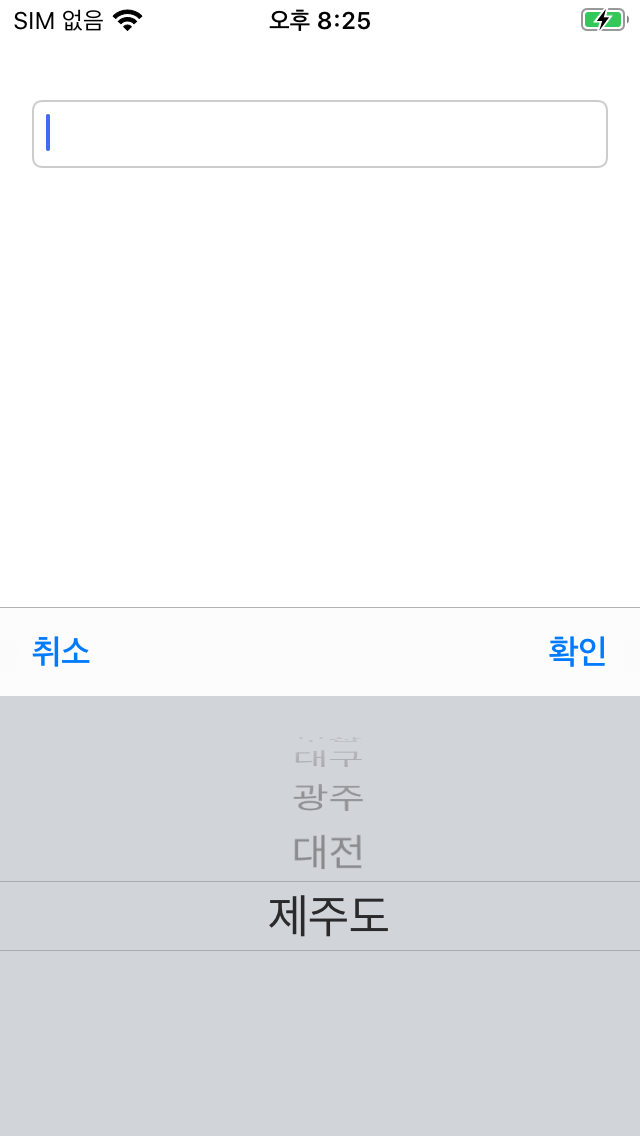
| iOS PickerView 예제 (0) | 2020.04.30 |